
With target groups you can mark parts of newsletter for specific target groups which should see this part, e.g. you can send women other offers as men. Target groups can only be used in HTML emails or multipart emails. In multipart emails you should activate creating plain text from HTML part automatically.
This function is only available in Professional versions not in Standard version.
Sending time of newsletters
Target groups will increase time of email preparing for each recipient when you use many target groups. Using embedded images with target groups attributes will increase email sending time enormously. Images linked with http:// or https:// will not impact email sending time.
HTML editing mode and target groups
In editing mode WYSIWYG editor right click on tables, table rows, images, hyperlinks or paragraphs, change properties of element and select target groups. In source code editor (right click in WYSIWYG editor) you specify attribute target_groups="targetgroup1 targetgroup2..." for other HTML tags. More than one target groups must be delimited by a space character.
In editing mode plain HTML editor you can specify attribute target_groups="targetgroup1 targetgroup2..." on HTML tags directly. More than one target groups must be delimited by a space character.
In editing mode wizard you must specify all target groups in template file with attribute target_groups="targetgroup1 targetgroup2..." on HTML tags directly.
Creating target groups and conditions
Select menu Project and select target groups to define one or more target groups.
Designation of target group may only contain characters A-Z (a-z) and numbers 0-9, other characters and spaces are not allowed.
Definition of conditions are equivalent to Query functions or text blocks but without outputting a text, instead of the assigned HTML element with its content will be leaved or removed.
Importing/exporting target groups
With this function you export target groups as file and import it in an other
project.
Comparisons in conditions
Using wildcards
The wildcard symbol * can be used in the comparison text, but only for the comparison "equals" (=) and "not equals" (<>). You can use this symbol only at the beginning or the end of the comparison text.
Examples:
Compare name = M* , this is full filled if the name of the field name begins with M
Compare name = *m , this is full filled if the name of the field name ends with m
Not permitted is name = M*M!
Simple example
Women should get a special offer for handbags and men a special offer for drills.
Sample recipients list
Defining target groups
1. Select menu Project - Target groups
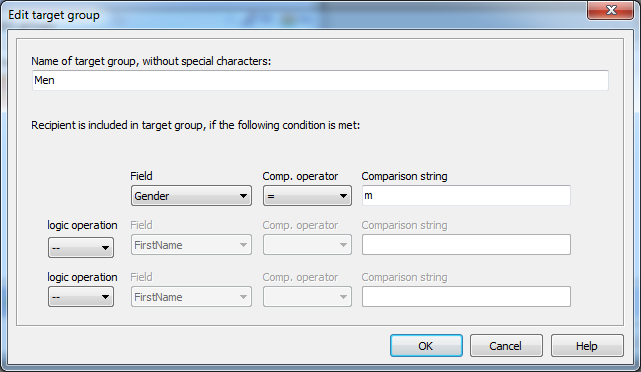
2. Add a target group Men, there will be compared if Gender
is m.
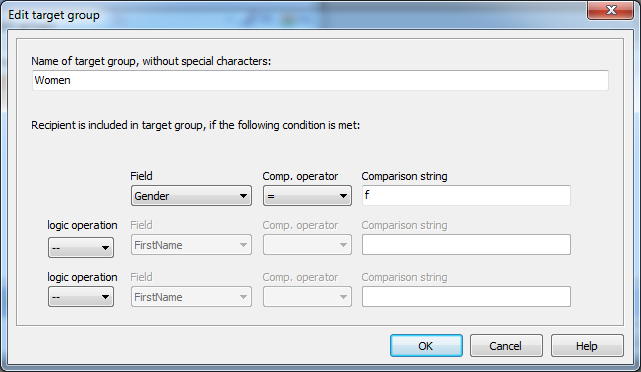
3. Add a target group Women, there will be compared if Gender
is f.
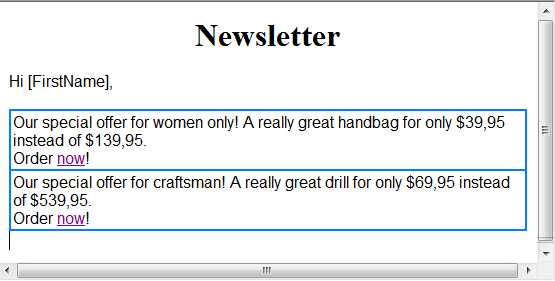
4. In WYSIWYG editor insert a table with 2 rows and one column.
5. In row one you write a text for women, in row 2 for men.
Sample in WYSIWYG editor
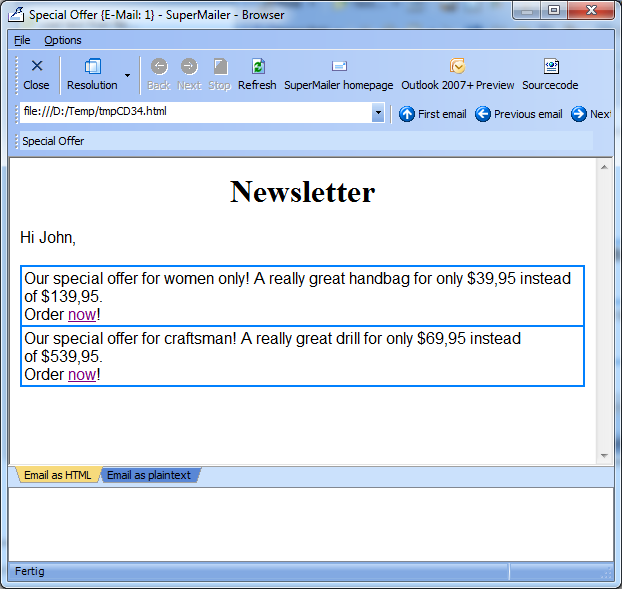
6. Click on "Serial mail preview" to view the email for each recipient. You will see the content for each email. Email is apart from first name for each recipient identically.
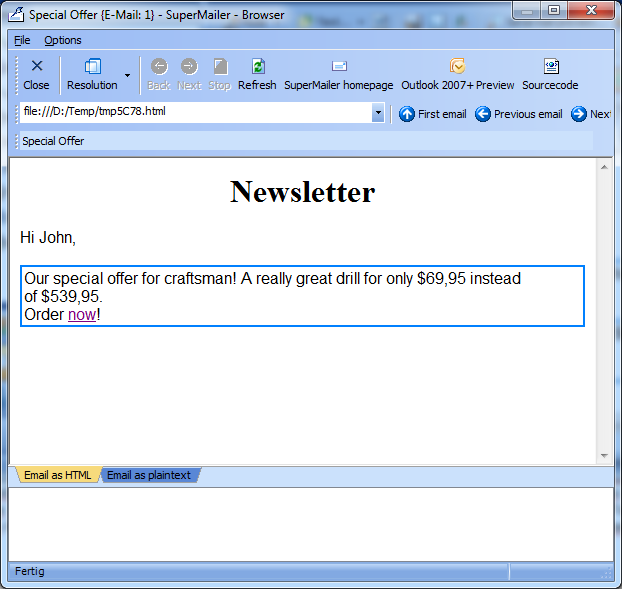
Email for John
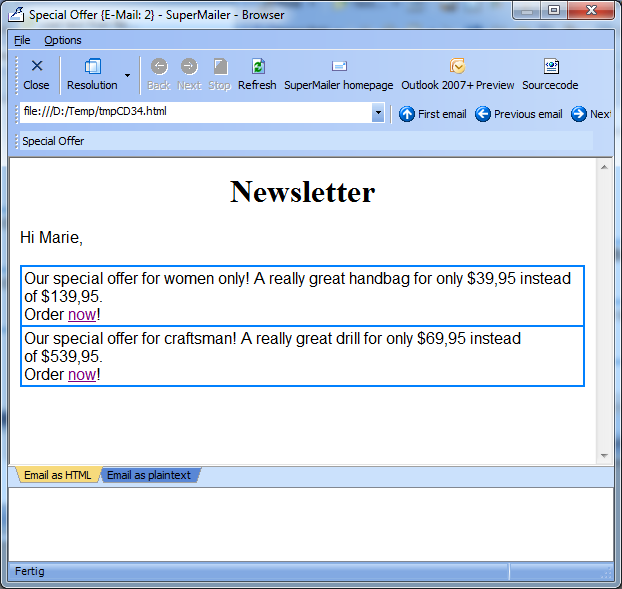
Email for Marie
7. Close Serial mail preview
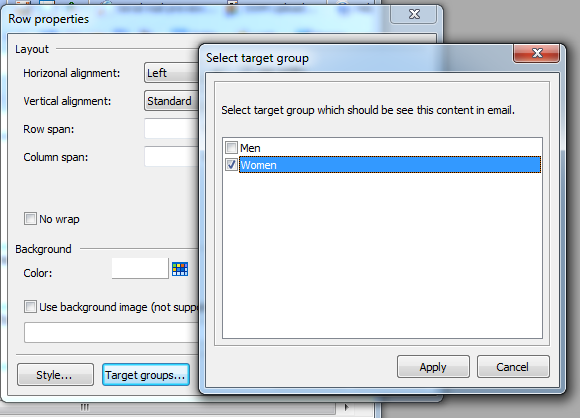
8. Right click with mice in first row of table and select Table - Row properties. Now click on "Target groups", set checkmark at target group "Women" and apply this setting. Close Row properties by clicking on "OK".
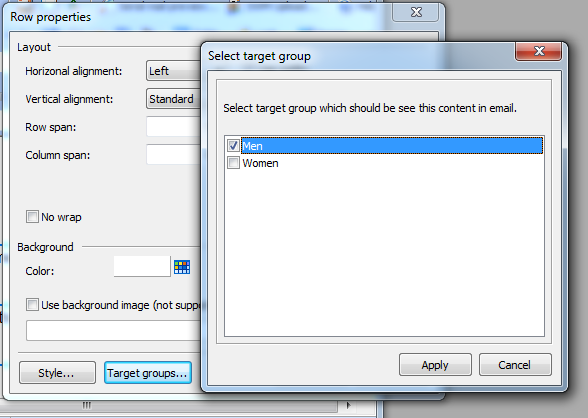
9. Just do the same for men in second table row, select there target group "Men".
10. After all target groups are defined click now on "Serial mail preview" to see the content of email for each recipient again. When there are all target groups defined for each table row you will see content of email modified for each target group:
Email for John
Email for Marie
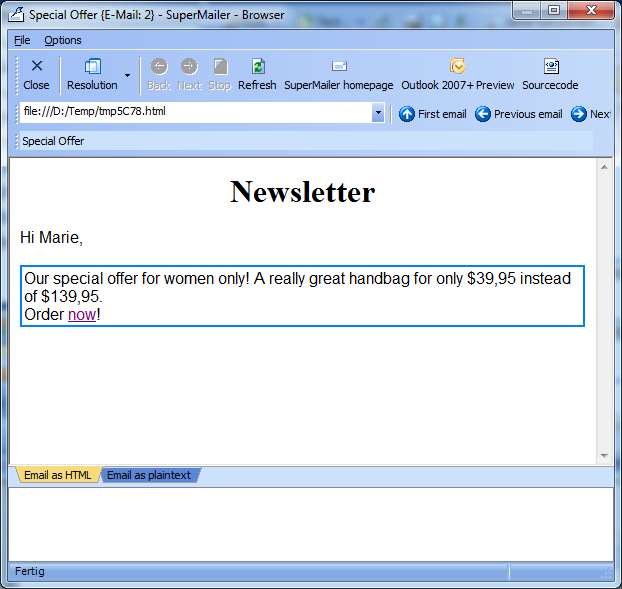
All male recipients will now get an offer for a drill and female recipients an offer for a handbag.