Quick start
This chapter should help you to create a first project, import recipients,
create newsletter text and send a newsletter.
Projects
SuperMailer works with projects. All email texts, email attachments and other
settings are saved in one project file. Recipients are saved in a separate
SQlite database file in same folder.
To create a new project click on button
In order to open an existing project, you must click on
 Add
recipients to the project
Add
recipients to the project
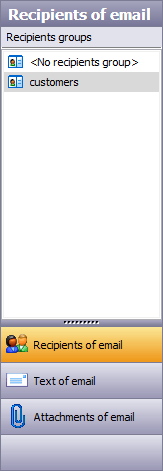
- Select left in panel "Recipients of email".
- Click on "Add recipient" to add a recipient to list of
recipients. Alternatively you can click on
to import a larger number of recipients from an external data source e.g.
plaintext file, Excel, Outlook, SQL databases.
- Click on
to select all recipients or filter recipients.
Hint: SuperMailer will only send emails to recipients with a checkmark.
Recipients without a checkmark will never get an email.
 Create
an email text
Create
an email text
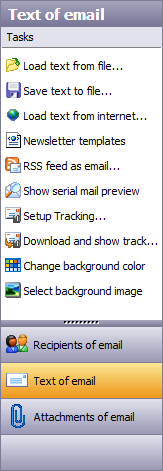
- Select left in panel "Text of email".
- Enter the subject of your email. You can also insert a merge field that is
replaced with recipients specific value while sending the emails.
- You can click on "Subject" and select "Variants of email
subject" to enter more than one email subject.
- Create now your newsletter email text directly in SuperMailer or import an
external HTML file by clicking on
- Use the button
to insert a mail merge field for personalization (short code) into text of your email.
This field will be replaced with recipient specific data before the email
will be send.
You can also right click in WYSIWYG editor and select from context menu
"Insert placeholder" a mail merge field.
Internal functions and default fields
- When you want to send a HTML email please check also the email in
plaintext format. Click on "Email as plaintext" at the lower edge
of the input field and enter the plaintext part of email.
- Click on
to see a preview of your email in HTML and plain text format. In serial mail
preview any mail merge fields (placeholders) are already replaced with
recipients specific data.
 Attachments
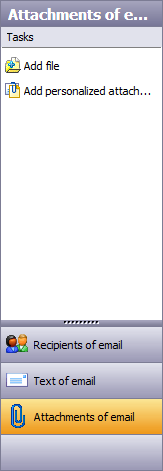
- Select left in panel "Attachments of email".
- Click on "Add File" to add a file from your local computer as
attachment.
- Click on "Personalized Attachment" (only available in
Professional versions) to add a personalized attachment.
- A personalized attachment is a recipients specific attachment e.g. a
Word/OpenOffice/LibreOffice file with name of recipients. Only the one
recipient will receive this attachment.
- You can also create a self constructed plain text based file, e.g. a
plain text file or a HTML file with recipients specific values. Click on
to insert a field.
Settings for sending newsletter emails
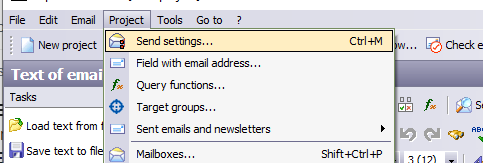
- Open menu Project - "Send settings".
- On first tab enter at least sender email address and sender name.
- On second tab select a variant for sending your emails.
Often used for email sending is sending over SMTP servers (outbox servers)
of email provider, Microsoft Outlook or Office365.
In case of using variant "Send by SMTP server of the email
provider" Outbox server (SMTP server) and SMTP Authentication must be
filled out correctly. You can get this data from your email provider.
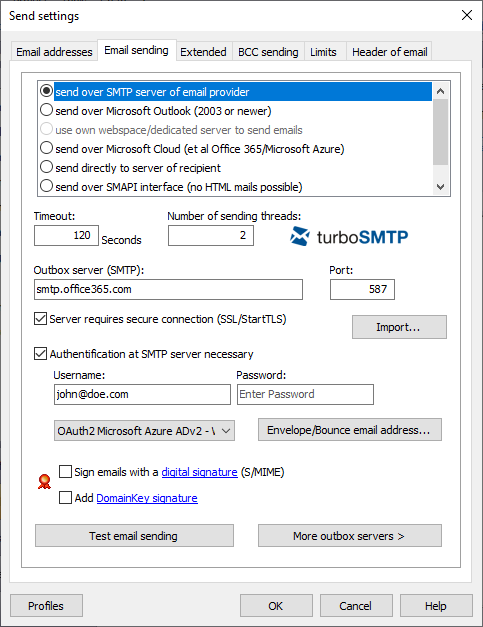 Click
on "Text email sending" to test your settings.
Click
on "Text email sending" to test your settings.
- Click on "More outbox servers" to add more than one SMTP server,
each server must have a limit.
- Select tab "Limits" to enter a limit for pausing email sending
after X emails.
- Click on "OK" to save all settings.
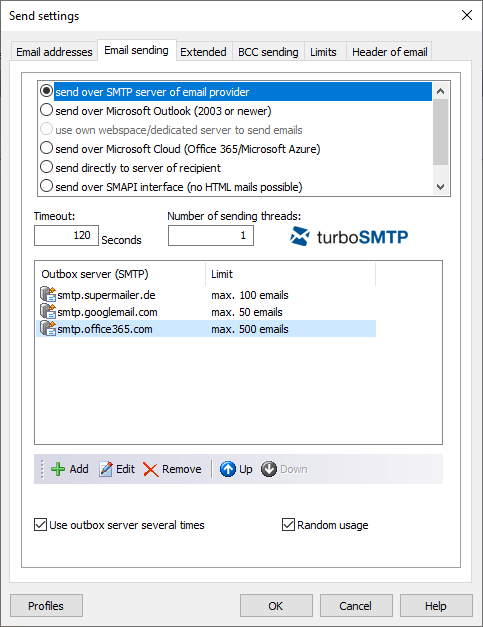 Add
more than one Outbox server
Add
more than one Outbox server
- Add each SMTP server with a limit. When there are one server without
limit, SuperMailer will use it for all remaining emails.
- Enable "Use Outbox server several times" to let SuperMailer
rotate SMTP servers, with "Random usage" one SMTP server will be
picked from list randomly.
Sending newsletters and bulk emails
- Click on
to send emails to all recipients.
- SuperMailer will check your settings and reports errors when something is
wrong. You must correct incorrect values.
- Click on "Send now" to send emails to all recipients saved in
recipients list which have a checkmark.
See also
Recipients of emails
Create an email
Attachments
Send emails
Send settings